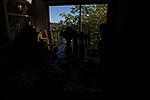
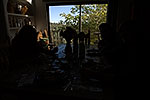
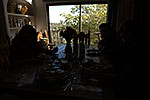
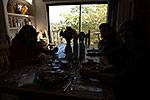
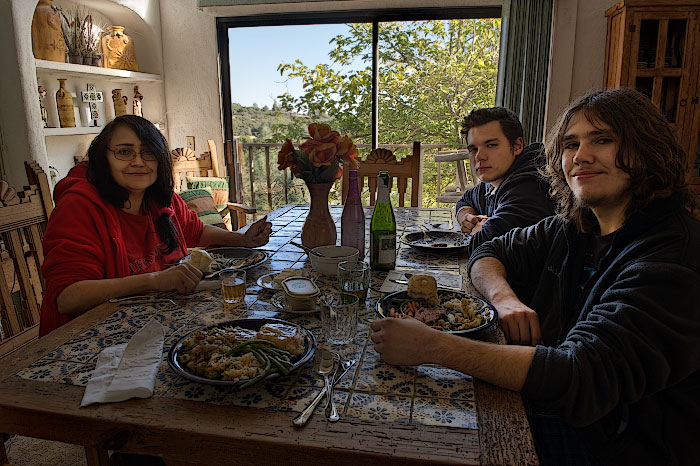
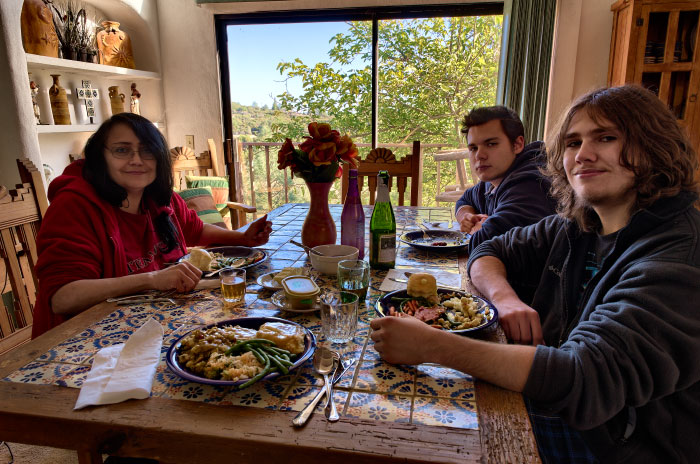
In the scene below, the dynamic range between the sunlit exterior and the shadowed foreground was so great that no conventional image medium could have captured it all. Placing the sky in the window on zone VI caused Zeke’s forearm to fall on zone -I. So I made seven exposures, one stop apart; in the first, the sky was placed on zone VI, and in the last, Zeke’s forearm fell on zone V. The RAW images were merged to HDR in Photoshop, and the resulting image “touched up” with selections from the individual exposures using layer masks.
Thanksgiving 2010
(How I would do it now: process the RAW images with
RawTherapee and the camera’s .dcp profile,
fuse them with
SNS-HDR,
then finish it with Photoshop and some
plugins.)
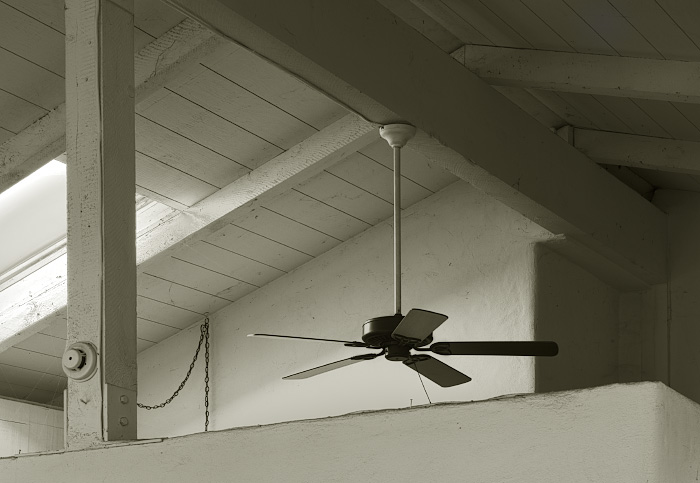
In the scene below, placing the brightly-lit wood at the left on zone VII caused the ceiling fan motor to fall on zone O; so I took a second exposure, raising the latter to zone II to preserve some more detail. I applied the second exposure to the image through an inverted version of itself as a mask, so that the highlights were masked, and the darker areas progressively more visible. I then converted the image to monochrome, and did some curves-based dodging and burning to evenly distribute the values.