An Introduction to Photo Editing with PhotoLine: HDR Imaging
High-dynamic range (HDR) imaging usually involves making several captures of a scene using different exposures, and then combining them into a single image that records a higher dynamic range than is possible with a conventional image. A great deal of internet bandwidth has been spent on this subject; a search will yield useful information mixed with a certain amount of myth and voodoo. If you are serious about the subject, you might want to read one of several good texts that are available, such as The HDRI Handbook 2.0: High Dynamic Range Imaging for Photographers and CG Artists by Christian Bloch.
Combining the exposures into a single image involves both art and science. Two guiding principles are exposure fusion and tone mapping. The former tends to produce an image that looks realistic, but possibly flat and dull, lacking local contrast and saturation. A number of different methods of tone mapping may be used to improve the situation, and many software choices are now available that use many different techniques. Unfortunately, it is very easy to apply tone mapping far past the point of reality, which has given HDR imaging something of a mixed reputation.
My preference is for an appearance of realism, and the HDR software that I believe is the best for this purpose is SNS-HDR by Sebastian Nibisz, which evidently uses an extremely good exposure fusion algorithm. But a number of general-purpose photo editors, including PhotoLine, are able to fuse HDR captures into images that are useful, but tend to require some more work to look finished. Below, I have used sample .jpg images from the Top 20 Best HDR Software Review 2017 page by Kim Seng; HDR-Examples.zip. (They are discussed in a forum thread, Req: Better HDR exposure merge.) I prefer to use rasterized images rather than raw in order to apply a .dcp camera profile during raw conversion, among other things.
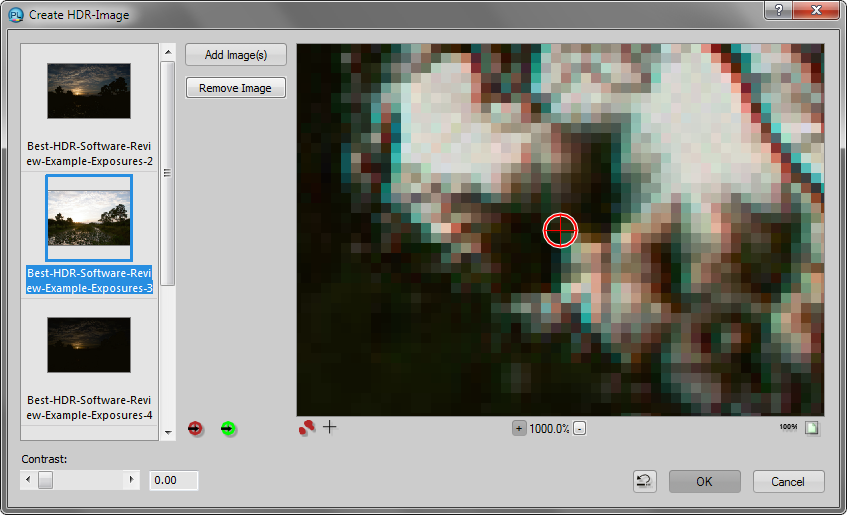
In PhotoLine, open the HDR captures via Filter – Digital Camera – Create HDR-Image. PhotoLine is able to combine up to three images; I opened all five of the sample images and it appears to have used the lightest, middle, and darkest exposures. The Contrast slider applies a tone mapping which produces severe halos; I recommend setting it to zero and using other post-processing techniques. If the images do not require alignment, go ahead and press OK to create a flat 16-bit Lab image. (If you press Shift + OK, you get a layered image with selections from the individual images plus Histogram Correction layers.) You may keep the image in Lab mode if you want to; otherwise convert it (meaning the background layer) via Layer – Convert Layer Type – RGB Image, or do it on the Layer panel; and remember to set an ICC profile.
If the images require alignment, press the + at the bottom left of the preview to view the individual images with reference points. Zoom way in, then click the red marker button to view the marker. Look at each individual image by clicking the thumbnails on the left, and make sure the marker is on the same spot in each image. Then repeat for the green marker. (I would hate to have to rely on this; invest in a good tripod, and use mirror lockup if possible. Also, adjust only the shutter speed when making the exposures; changing the aperture changes the depth of field, and may even subtly change the size of the image. Most dedicated HDR software is able to automatically align images, sometimes at the subpixel level.)
|
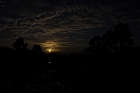
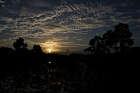
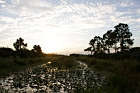
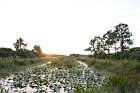
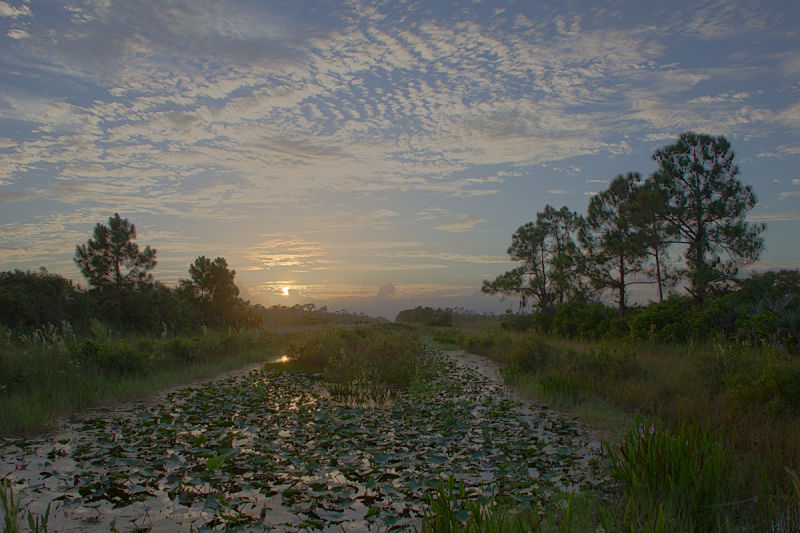
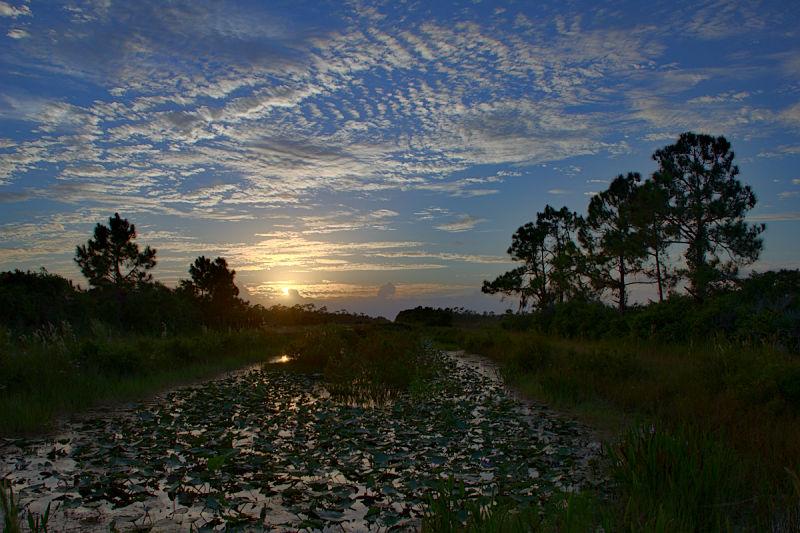
Here is the initial result. It is not much to look at, with little local contrast or saturation. It also suffers in detail, which is most noticeable in the clouds.
 |
 |
 |
 |
 |
 |
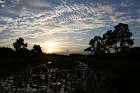
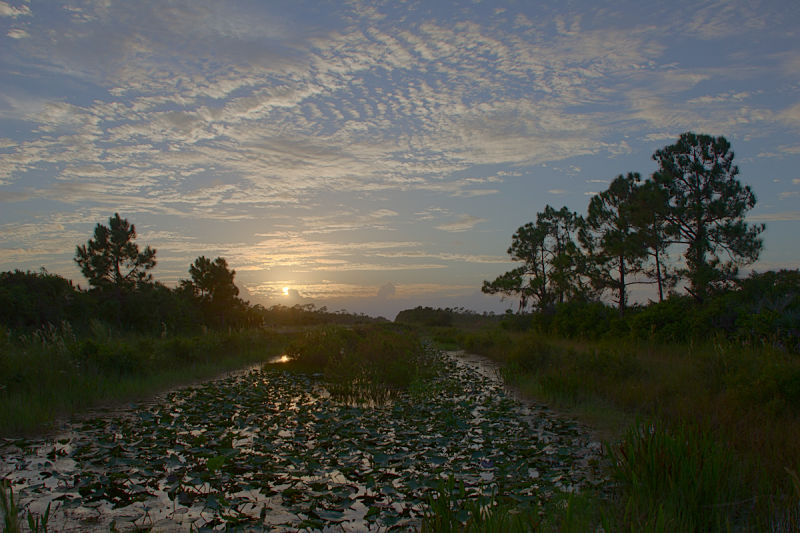
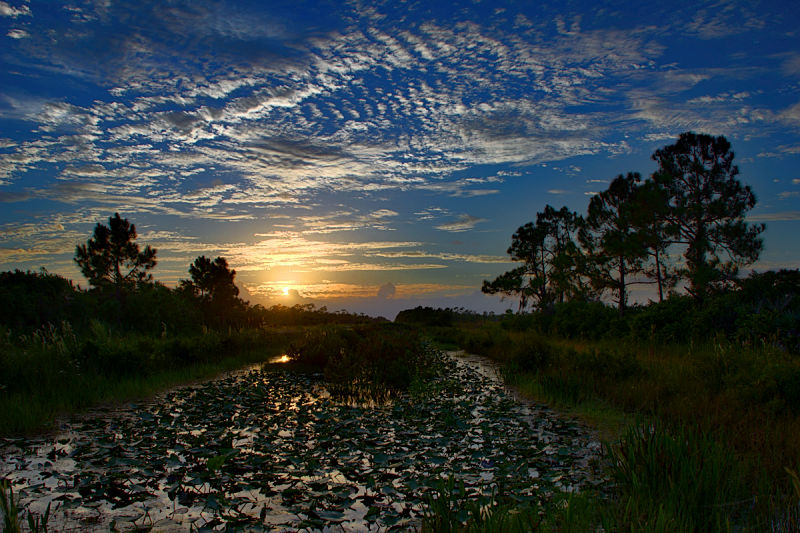
To get PhotoLine to use all five exposures, first create an HDR image using only the lightest three, then create another using the darkest three. Convert the images to RGB and save them, then use these two intermediates to create the final result. It appears that any number of exposures may be “daisy chained” in this manner, three at a time. Note the increased detail in the clouds below.
Another trick, which I did not use here, is to “touch up” the HDR image with selections from the original captures by pasting them as layers and using masks.
 |
The easiest way to improve the image may be the Dehaze filter (Filter – Quality – Dehaze). The image must be converted to RGB first. The default Calculate Haze Color seemed to work. Reducing the size (radius) increased the effect but produced visible halos.
 |
Here is the result after applying an unsharp mask filter, one curves layer, and two hue/saturation layers. Whether this looks “overdone” or not is a matter of preference.
 |
Next: miscellaneous adjustments and techniques: Dehaze, Light/Shadow, Exposure, shadows/highlights, contrast masking
